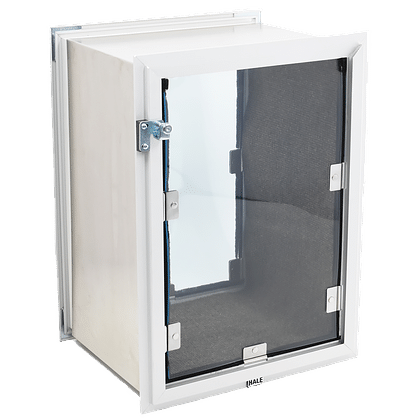
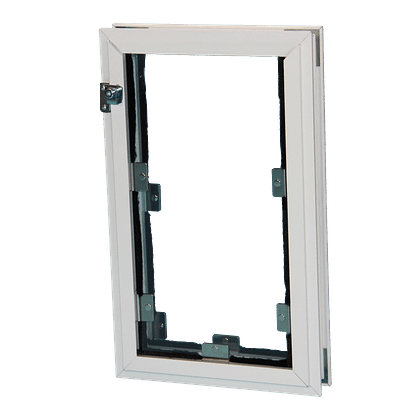
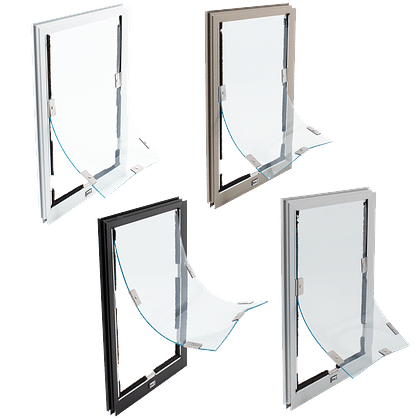
Screen Model Pet Door Installation (Standard Model)
Please read these instructions carefully and completely before attempting to install your pet door; they will guide you through the steps and precautions needed for a screen installation. Illustrations and photographs have been added to help our customers understand various instructions. To reach an experienced installer for free consultation, please call 1-888-293-6411. Hale Pet Doors are designed for ease of installation which makes them ideal for any type of screen. Any person with a working knowledge of power or hand tools and basic home construction can install the Hale Pet Door™. It is important to note however, that the product warranty may be affected if returns have been modified in any way other than specified by these instructions. We cannot give credit for a door returned to us damaged.
A SAFETY REMINDER!
Always wear eye protection and gloves when appropriate.
PLEASE READ ALL INSTRUCTIONS COMPLETELY BEFORE BEGINNING INSTALLATION.
Before installing:
The Hale Pet Door “Screen Pet Door” is designed to fit into one of the lower corners of a screen door frame or screen window frame that is ½” thick or less. In screen frames that are ½” thick or less the pet door is completely reversible and will fit into either corner of the screen frame. The purchaser must specify when ordering if their screen frame is thicker than ½” so modifications can be made at the factory to accommodate those frames. Once modifications are made at the factory the pet door is no longer reversible. This means that a “right” or “left” determination must be made at the point of order. This is done from the perspective of a person standing inside the screen and looking outward to determine on which side they wish to install the pet door; “right” or “left”.
Note: The Hale Pet Door™ screen model is not designed to work on security doors. A “door” model is much better choice for a security screen application.
Step 1: Before installation, be sure that you have the proper size pet door for your pet. If in doubt, larger is better. It may be harmful for your pet to use a pet door that is too small. A good general rule is to install the pet door so that the distance from the floor to the top of the passage opening is even or above the shoulder of your largest pet. If you have more than one pet, make sure the tallest pet has shoulder clearance and the shortest pet will not have to jump through the opening.
Step 2: Take a brief look at the large diagrams of the screen model at the end of the instructions and become familiar with various components of the screen model. This will not only help in understanding the terms used in these instructions but can be very useful should you need to call for technical support.
Step 3: Check the package you received to make sure that it contains all the necessary items.

Complete Kit includes:
| Instructions with drawing | Warranty |
| Hale Pet Door™ Screen Model | Screen Spline |
| 5/8” #6 Phillips Head Screws | 7/64” drill bit |
Tools you will need:
| Screen spline roller (handy but not necessary) | Drill |
| Phillips headed screwdriver | Razor blade |
| Flat headed screwdriver | Needle-nosed pliers (optional) |
 Step 4: If the pet door has not already been factory modified for a certain position, determine which corner of the screen door is to be used for installing the pet door.
Step 5: Remove the screen window or door from its track. The screen door can generally be removed by lifting it upward and swinging the bottom inward. Occasionally the wheels will interfere with removal. In this case, the wheels will need to be lifted upward to clear the track.

Step 6: Lay the screen window or screen door on a flat surface with the screen spline facing upward
Step 7: Remove the screen spline (the ribbed rubber around the screen) from the installation corner. Needle-nosed pliers work very well for removing the screen spline or you can also carefully use a screwdriver at the corner to get started. If using a screwdriver, be careful not to cut into the spline or slice into the finish of the door frame. HINT: Only remove the spline from the corner you will be working on, going a little bit farther than the finished size of the pet door. Leave the spline attached for the moment and just push or fold it out of the way.


After you have pulled up the spline, fold the screen material back only at the corner in which you want to install the pet door.
Step 8: Slide the pet door over the frame at the corner. Make sure the pet door is adjusted properly and operates smoothly while in position. It should be flush against both the bottom and side edges. If your screen model was not factory modified, there should be a U-shaped track that slides over the edge of your door frame. If your screen door is wider than ½” and your screen model was factory modified, there should be an L-shaped channel that rests on the top of your frame and allows the pet door to fit flush against the screen door frame.


Step 9: Drill through the sides and bottom of the inner pet door frame and screen frame with the 7/64” drill provided. Insert the #6 screws with a Phillips screwdriver. Be sure the screws will not interfere with the operation of the screen door.

Step 10: Lay the screen material over the pet door. Pull the screen material taut. To hold the screen fabric around the pet door, insert the screen spline with a flat headed screwdriver or screen spline roller.
NOTE: Depending on the size of your screen door and the pet door you are installing, you may be able to use the excess screen spline that is still attached to your screen door. Simply turn a 90° corner with both sides of the spline and press them into the pet door spline frame track until they meet. If there is not enough excess spline from your screen door or if you do not wish to use it, simply insert the screen spline that came with your pet door.
 When installing the spline in the corner of the pet door unit, it may be necessary to cut a small diagonal slit up into the screen material in order to relieve the tension on the screen fabric and allow it to be pulled down into the spline frame track. NOTE: Be careful not to cut too far into your screen fabric or you will have a hole at the corner of your pet door. See the picture to the left for a close up of a correctly installed pet door.
Step 11: Cut away any excess screen spline with a razor blade or scissors. Cut away the excess screen material with a razor blade being careful not to cut into the screen spline or the finish of the pet door.

 Step 12: Reinstall the screen door or screen window into its original position.
Step 13: After reinstalling the screen into a vertical position, adjust the magnets in the pet door upward or downward if needed. The magnets are pressure fitted and can be adjusted downward by tapping lightly with the handle of your screwdriver. They can be adjusted upward by twisting a flat headed screwdriver below the magnet between the magnet and frame. Be sure to adjust the magnets upward from the inside of the door so as not to mar the outer door finish.
Your installation is now completed. We hope you and your pet enjoy your HALE PET DOOR™ for years to come.


